Walking into a US visa interview without the right documents is one of the most avoidable ways to get refused. Yet thousands of applicants do it every single year — not because they are dishonest or ineligible, but because the official guidance is genuinely confusing, incomplete, and varies from one consulate to the next.
This guide cuts through all of that. By the time you finish reading, you will know exactly what to bring, why each document matters, how to organize your folder, and what mistakes to avoid. Whether you are applying for the first time or after a previous refusal, this is the most practical breakdown of US B1/B2 visa interview documents you will find anywhere.
First — What Is the B1/B2 Visa?
The B1/B2 is the standard US visitor visa. The B1 category covers business-related travel such as attending meetings, conferences, and negotiations. The B2 covers tourism, medical visits, and trips to see friends or family. In almost all cases, the two are issued together as a single combined B1/B2 visa.
The interview itself is often very short — sometimes just two or three minutes. But that brevity is misleading. The consular officer has already reviewed your DS-160 application before you approach the window. The documents you bring are your opportunity to back up everything you claimed on paper with real, tangible evidence. A strong document folder does not just support your application — it often determines the outcome before you say a single word.
One important thing to understand from the start: there is no single universal checklist that fits every applicant in every country. Your job, your family situation, your finances, and your travel history all influence which documents carry the most weight in your specific case. This guide covers both the mandatory baseline and the supporting evidence that turns an average application into a convincing one.
Part 1: Mandatory Documents — Non-Negotiable for Every Applicant
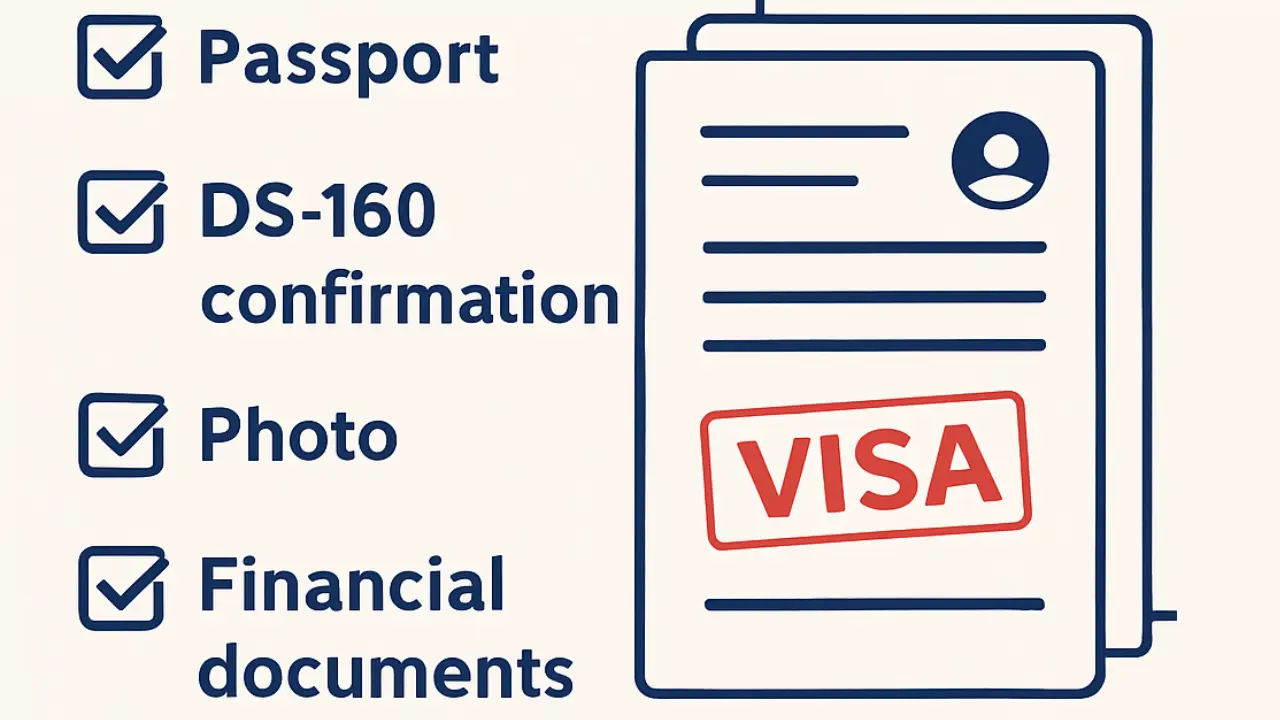
These are the documents every single applicant must bring, regardless of nationality, travel purpose, or personal circumstances. Without these, your interview will not even begin.
Valid Passport Your passport must be valid for at least six months beyond your intended stay in the United States. If it expires sooner, renew it before applying. Also bring every expired passport you own — old passports contain visa stamps and travel records that officers frequently examine. Presenting them without being asked signals transparency and helps build your case.
DS-160 Confirmation Page This is the printed barcode page generated after you submit your online visa application. The barcode connects your file to the consulate’s system. Print it clearly and do not fold it through the barcode. Without it, the officer cannot pull up your application.
Visa Interview Appointment Letter This confirms your scheduled appointment at the specific embassy or consulate. It is typically checked before you even enter the building, so keep it accessible at the front of your folder.
MRV Fee Payment Receipt This is proof that you paid the non-refundable visa application fee — currently $185 for B1/B2 applicants. In some countries, an additional visa issuance fee may apply based on reciprocity agreements. Check the requirements specific to your country of citizenship.
Passport-Style Photographs Bring one or two recent photos meeting US visa photo requirements — 2×2 inches, white background, no glasses — even if you already uploaded a photo digitally during your application. Some consulates still ask for a physical copy.
Part 2: Financial Documents — Proving You Can Fund Your Trip
A major part of what consular officers evaluate is whether you have the financial means to cover your trip without needing to work illegally or overstay your visa. Financial documentation is one of the most scrutinized categories in the entire B1/B2 application.
The goal is to demonstrate two things at once: that you have enough money for the trip, and that you have financial roots at home worth returning to.
Bank Statements (Last 3–6 Months) These are your primary financial proof. They should show a healthy, consistent balance over time — not a large deposit that appeared shortly before your interview, which is a common red flag. Consistency matters far more than a single large number.
If Someone Else Is Sponsoring Your Trip If a relative in the US is covering your costs, you will need their bank statements, a signed letter of financial support explaining the arrangement, and proof of their US immigration status — a copy of their green card, naturalization certificate, or valid visa.
Employment and Income Proof Payslips from the last three months and an employer letter on official letterhead confirming your job title, salary, and approved leave dates are both valuable additions. The employer letter is particularly important because it proves you have a job waiting for you when you return — one of the strongest signals an officer can receive.
For Self-Employed Applicants Bring your most recent tax returns, business registration certificate, and any documentation showing ongoing business obligations that require your presence at home.
Additional Financial Evidence For applicants from countries with higher visa refusal rates, layering additional financial proof — fixed deposit certificates, investment account statements, pension fund records, or property ownership documents — significantly strengthens the application. More organized financial evidence is almost always better than less.
Part 3: Ties to Your Home Country — The Most Underestimated Category
Under US immigration law, every B1/B2 applicant is presumed to be an intending immigrant until proven otherwise. That means the burden is entirely on you to demonstrate that your life at home gives you compelling reasons to return after your visit. This category of documents is where many applications succeed or fail.
Employment Ties An employer letter confirming your position, salary, leave approval, and expected return-to-work date is one of the single most powerful documents you can bring. Business owners should bring their company registration certificate, recent tax filings, and any documents showing ongoing business responsibilities.
Family Ties If you have a spouse, children, or dependent parents at home, document it. A marriage certificate, children’s birth certificates, and similar records paint a picture of a family life that you are not about to abandon.
Property and Financial Ties A property deed or mortgage statement for real estate you own at home is strong evidence of permanent roots. Even utility bills showing a long-established residence at a specific address can reinforce the impression of a settled life.
Academic Ties (for Students) An enrollment letter and academic schedule showing that classes resume after your planned return date serves the same purpose as employment — it gives you a clear, documented reason to come back.
Community and Social Ties Club memberships, volunteer roles, or community commitments carry less individual weight but contribute to the overall picture. A folder that combines employment, family, property, and community ties together creates a narrative that no single document can achieve alone.
Part 4: Purpose-Specific Documents — Match Your Documents to Your Trip
Your supporting documents must match the stated purpose of your trip in your DS-160. Inconsistency between what you claimed and what you brought is one of the fastest ways to trigger additional scrutiny.
If You Are Traveling for Tourism (B2)
- Detailed travel itinerary — day-by-day, not vague; show where you will be, what you plan to do, and where you will stay
- Hotel reservation confirmations (use cancellable bookings before the visa is issued)
- Round-trip flight itinerary (a reservation is fine — not necessarily a purchased ticket)
- Invitation letter from your US host if you are staying with someone, including their address, immigration status, and description of your relationship
If You Are Traveling for Business (B1)
- Invitation letter from the US company you are visiting, explaining the purpose, duration, and who is covering costs
- Letter from your employer explaining the nature of the business activity
- Conference or event registration confirmations, meeting agendas, or trade show tickets
The key is to show clearly that the activity is genuinely temporary business — not employment that would require a different visa category.
If You Are Traveling for Medical Treatment (B2)
- Letter from your home-country doctor explaining the diagnosis and why treatment in the US is necessary
- Letter from the US medical facility confirming your appointment, expected treatment duration, and cost estimate
- Proof that you can cover US medical expenses — insurance documentation or bank statements showing adequate funds
If You Are Visiting Friends or Family (B2)
- Invitation letter from your US-based contact with their full name, address, immigration status, the nature of your relationship, and your planned length of stay
- Copy of their US passport, green card, or valid visa to strengthen the letter
Part 5: The Master Checklist — Print and Use This
Use this as your final preparation checklist before your interview date:
Core Documents
- Valid passport (6+ months validity) plus all expired passports
- DS-160 confirmation page (clearly printed with barcode)
- Visa appointment confirmation letter
- MRV fee payment receipt
- Passport-style photographs (US specifications)
Financial Documents
- Bank statements — last 3 to 6 months
- Payslips or salary statements — last 3 months
- Employer letter (job title, salary, leave dates, return-to-work date)
- Business registration and tax returns (if self-employed)
- Property ownership documents or mortgage statement
- Sponsor’s bank statements and support letter (if applicable)
Home Country Ties
- Marriage certificate and/or children’s birth certificates
- Property deed or mortgage records
- Enrollment letter and academic schedule (if student)
- Any pension, investment, or retirement fund statements
Purpose-Specific Documents
- Travel itinerary with hotel reservations and flight booking
- Invitation letter from US host (if staying with someone)
- Business invitation letter from US company (B1 applicants)
- Conference or event registration (B1 applicants)
- Medical appointment letter from US facility (medical travel)
- Doctor’s letter from home-country physician (medical travel)
Supplementary
- Travel insurance documentation (strongly recommended)
- Prior visa stamps, expired US visas, or I-94 departure records if you have them
Part 6: How to Organize Your Documents for Maximum Impact
Knowing what to bring is only half the job. How you present your documents at the window matters more than most applicants realize.
Use a clear plastic folder or document wallet with labeled dividers. Put the mandatory documents at the front since those are requested first. Behind them, place financial documents, then home-country ties, then purpose-specific materials. Bring both originals and photocopies of everything important — the officer may keep the copies and you will want your originals returned.
Only include documents you can explain. If your bank statement shows a sudden large deposit, be ready to say clearly where the money came from. If any document is in a language other than English, bring a certified translation. Every item in your folder should be something you understand and can speak to calmly and confidently.
Prepare short, honest answers to the questions you will almost certainly be asked: the purpose of your trip, how long you plan to stay, who is paying for it, and whether you have family in the United States. Your answers must align exactly with your documentation. The interview is brief, but it is as much a consistency check as it is a document review.
Part 7: Mistakes That Lead to Refusals — And How to Avoid Them
Weak or Thin Financial Evidence Bringing a single bank statement with a modest or inconsistent balance and nothing else leaves too much room for doubt. Always present financial proof in layers — bank statements supported by payslips, supported by an employer letter, supported by asset documents.
Inconsistency Between DS-160 and Supporting Documents If your DS-160 states one job title but your employer letter says another, that discrepancy will be noticed. Review your DS-160 carefully before the interview and verify that every supporting document is consistent with what you stated.
Vague or Unconvincing Travel Plans Saying you want to “visit New York and maybe travel around” is not a convincing itinerary. A specific, realistic, day-by-day plan with named hotels and activities shows you have planned a real, time-bounded trip — not an open-ended stay.
No Prior International Travel History If you have legally traveled to the US, the UK, Canada, Schengen countries, Japan, or Australia, bring evidence of those trips. Stamps in old passports, previous visas, or departure records show a consistent pattern of respecting visa conditions — one of the strongest signals an officer can receive.
Submitting Documents You Cannot Explain Every item in your folder should be something you understand. A document that raises more questions than it answers hurts more than it helps.
Part 8: Special Situations
Students Bring your enrollment letter, academic transcript, proof of tuition payments or scholarship, and a financial sponsor letter from a parent or guardian along with the sponsor’s bank statements and employment proof. The key tie to demonstrate is that your academic program continues after your return date.
Retirees Shift the emphasis away from employment and toward property, pension income, and family. Pension statements, retirement fund documentation, property deeds, and evidence of close family relationships at home — adult children, siblings, grandchildren — all contribute to a strong application. A clean long-term travel record is particularly valuable for retirees.
First-Time International Travelers With no travel history to present, compensate with strength in every other category. Exceptionally thorough financial documentation, a detailed and believable itinerary, well-documented home-country ties, and a calm, confident interview presence can fully overcome the absence of a prior travel record.
Part 9: After the Interview — What Happens Next
Most B1/B2 applications are decided the same day. If approved, verify every detail on your visa sticker before leaving the consulate — your name, date of birth, passport number, validity dates, and number of entries. Most B1/B2 visas are issued for ten years with multiple entries. Report any errors immediately.
Some applications are placed in administrative processing — a period of additional security review that can take days to weeks. This is not automatically a denial. Contact the consulate for a status update if you have not heard back after three weeks.
Keep all your application documents for the life of the visa. US Customs and Border Protection officers at the port of entry have full authority to question you about your trip. Carrying your hotel confirmation, invitation letter, and return flight booking in your carry-on luggage is a practical habit worth developing.
Frequently Asked Questions
Do I need originals or copies? Bring both. Present originals and have clean photocopies ready to leave behind if the officer asks. Never surrender your original passport for any reason other than actual visa issuance.
What about documents in other languages? Bring the originals plus certified English translations. Official translations remove ambiguity and demonstrate that you have prepared carefully.
What if I am unemployed? Be upfront about it. Strong bank statements, any freelance or contract income, solid property ownership, and close family ties at home can absolutely support an approval. Honesty paired with strong supporting evidence is always the right approach.
Can I apply again after a refusal? Yes. A prior refusal under Section 214(b) does not permanently bar you. You must declare it on your new DS-160 and address it with meaningfully stronger documentation. Reapplying with the same materials that caused the first refusal is unlikely to produce a different outcome.
Is travel insurance required? It is not a formal requirement for a B1/B2 visa, but it is strongly recommended. It signals responsible planning and — more practically — protects you from potentially catastrophic healthcare costs if you need medical attention while in the United States.
When should I book my appointment? Interview wait times vary significantly by location and season. Check current wait times for your nearest consulate at the US State Department’s official website. At busy consulates during peak periods, waits of several months are common — start this process well in advance.
Have questions about your specific situation? Drop them in the comments below. And for the latest visa news, tips, and guides, stay connected at Zeramart.shop.